
Phlexglobal
I would give gold stars for the levels of support, any problems are solved quickly and efficiently and the willingness to help solve any issues is great.
Peter McNaney
Chief Technology Officer

Swansea Building Society
The training and support Connexica give to us is second to none!
Chris Wright
Application Delivery Lead

To Add Slides to This Animation
Add a new saved section that contains all of the bits you need to get it working.
Move the circle animation and text card into the positions that you want them to appear.
Click the markdown component and add the slides that you want to appear - each <div class="bannerQuote">…</div> section is a new card.
Card Component
Add new new section, then click the ‘Edit Section’ option.
In the Design tab, scroll to the Anchor Link input and add the word ‘cards’.
If you want to add more sections in the same page using this style, just call them different names, but always starting with ‘cards’, ‘cards-1’, ‘cards-2’ for example.
Everything else in the section can be added as normal, but any text element you add will be surrounded by the white background you see on this one.
You can also add a background picture to the section, but by default, you’ll see this blue/grey gradient.
Dot Background Graph Paper
To include the dotted background shown on this section, follow the instructions below:
Add the words ‘background-dot-graphpaper’ to the anchor name.
Dot Background Graph Paper Grey
To include the dotted background shown on this section, follow the instructions below:
Add the words ‘background-dot-graphpaper-grey’ to the anchor name.
Graph Background
To add the graph background to a section (the same as on this part of the page), follow this process:
Add new new section, then click the ‘Edit Section’ option.
In the Design tab, scroll to the Anchor Link input and add the word ‘background-graph-paper’.
If you want to add more sections in the same page using this style, just call them different names, but always starting with ‘background-graph-paper’, ‘background-graph-paper-1’, ‘background-graph-paper-2’ for example.
Blue Gradient Background
To add the blue gradient background to a section (the same as on this part of the page), follow this process:
Add new new section, then click the ‘Edit Section’ option.
In the Design tab, scroll to the Anchor Link input and add the word ‘blue-gradient’.
If you want to add more sections in the same page using this style, just call them different names, but always starting with ‘blue-gradient’, ‘blue-gradient-1’, ‘blue-gradient-2’ for example.
Blue-Orange Gradient Background
To add the blue gradient background to a section (the same as on this part of the page), follow this process:
Add new new section, then click the ‘Edit Section’ option.
In the Design tab, scroll to the Anchor Link input and add the word ‘blue-orange-gradient’.
If you want to add more sections in the same page using this style, just call them different names, but always starting with ‘blue-orange-gradient’, ‘blue-gradient-1’, ‘blue-gradient-2’ for example.
Isometric Graph Paper Background
To add the blue gradient background to a section (the same as on this part of the page), follow this process:
Add new new section, then click the ‘Edit Section’ option.
In the Design tab, scroll to the Anchor Link input and add the word ‘background-isometric-graph-paper’.
If you want to add more sections in the same page using this style, just call them different names, but always starting with ‘background-isometric-graph-paper’, ‘background-isometric-graph-paper-1’, ‘background-isometric-graph-paper-2’ for example.

Contain Image To Right Of Section
To make the background image fit into the height of a section and be aligned to the right (the same as on this part of the page), follow this process:
Add new new section, then click the ‘Edit Section’ option.
In the Design tab, scroll to the Anchor Link input and add the word ‘image-contain’.
If you want to add more sections in the same page using this style, just call them different names, but always starting with ‘image-contain’, ‘image-contain-1’, ‘image-contain-2’ for example.

Contain Image To Left Of Section
To make the background image fit into the height of a section and be aligned to the left (the same as on this part of the page), follow this process.
Please Note: This section also demonstrations ‘image-fade-left’.
Add new new section, then click the ‘Edit Section’ option.
Add a background image.
In the Design tab, scroll to the Anchor Link input and add the word ‘image-contain-left’.
If you want to add more sections in the same page using this style, just call them different names, but always starting with ‘image-contain-left’, ‘image-contain-left-1’, ‘image-contain-left-2’ for example.

Fade Background Image From Left
To make the background image fit into the height of a section and be aligned to the left (the same as on this part of the page), follow this process.
Please Note: This section also demonstrations ‘image-fade-left’.
Add new new section, then click the ‘Edit Section’ option.
Add a background image.
In the Design tab, scroll to the Anchor Link input and add the word ‘image-fade-left’.
Fade Background Image From Right
To make the background image fit into the height of a section and be aligned to the left (the same as on this part of the page), follow this process.
Please Note: This section also demonstrations ‘image-fade-left’.
Add new new section, then click the ‘Edit Section’ option.
Add a background image.
In the Design tab, scroll to the Anchor Link input and add the word ‘image-fade-right’.
Animate Background Image Towards the Left
To move the background image to the left on rollover:
Add new new section, then click the ‘Edit Section’ option.
Add a background image.
In the Design tab, scroll to the Anchor Link input and add the word ‘background-slide-left’.
Animate Background Image Towards the Right
To move the background image to the left on rollover:
Add new new section, then click the ‘Edit Section’ option.
Add a background image.
In the Design tab, scroll to the Anchor Link input and add the word ‘background-slide-right’.
Heading Text Roll Over Ripple Effect
To add the effect shown in the heading text above:
Add a new section to the page along with a text component that contains a ‘Heading 1’, ‘Heading 2’ or ‘Heading 3’ text element.
Add the text ‘gradient-text-ripple’ to the anchor link.
When the user rolls their cursor into the section, any Heading ‘x’ elements in the section will show the ‘ripple’ background effect.
Roboto Slab Typeface
To use the Roboto slab typeface for headings in a section (Heading 1, Heading 2, Heading 3), folow these steps:
1. Add ‘font-roboto-slab’ into the Anchor Link for the section.
Heading 1
Heading 2
Heading 3
Fira Mono Typeface
To use the Fira Mono typeface for headings in a section (Heading 1, Heading 2, Heading 3), folow these steps:
1. Add ‘font-fira-mono’ into the Anchor Link for the section.
Heading 1
Heading 2
Heading 3
Lists With Tick Icons
To replace the standard bullet on lists with a tick icon, follow these steps:
Add the word ‘tick’ into the anchor name for the section.
Add a list to a Squarespace text component.
Paragraph 1 Style
List Item 1
List Item 2
List Item 3
List Item 4
List Item 5
List Item 6
Paragraph 2 Style
List Item 1
List Item 2
List Item 3
List Item 4
List Item 5
List Item 6
Paragraph 3 Style
List Item 1
List Item 2
List Item 3
List Item 4
List Item 5
List Item 6
Slide Up Animation
This animation works best with multiple section elements. It will animate each item in an upwards direction, with a slight delay in between.
To add the slide up animation to a section:
Add multiple items into the section layout, for example, this one includes two text components - one for the title, another for the body text. Whilst in ‘edit’ mode, move each item down the page slightly from where you would like them to be placed because the animation moves them upwards by 50px.
Add ‘anim-stagger’ to the Anchor Link for the section.
Random Animation
To create this effect:
Add Multiple items to the section.
Add ‘anim-slide-random’ to the Anchor Link for the section.
This will animate section elements to move in a seemingly random pattern. Whilst the actual animation is fixed, you can change how the elements are affected by amending the order that they’re added to the section.

Simple List Component Style Embellishments
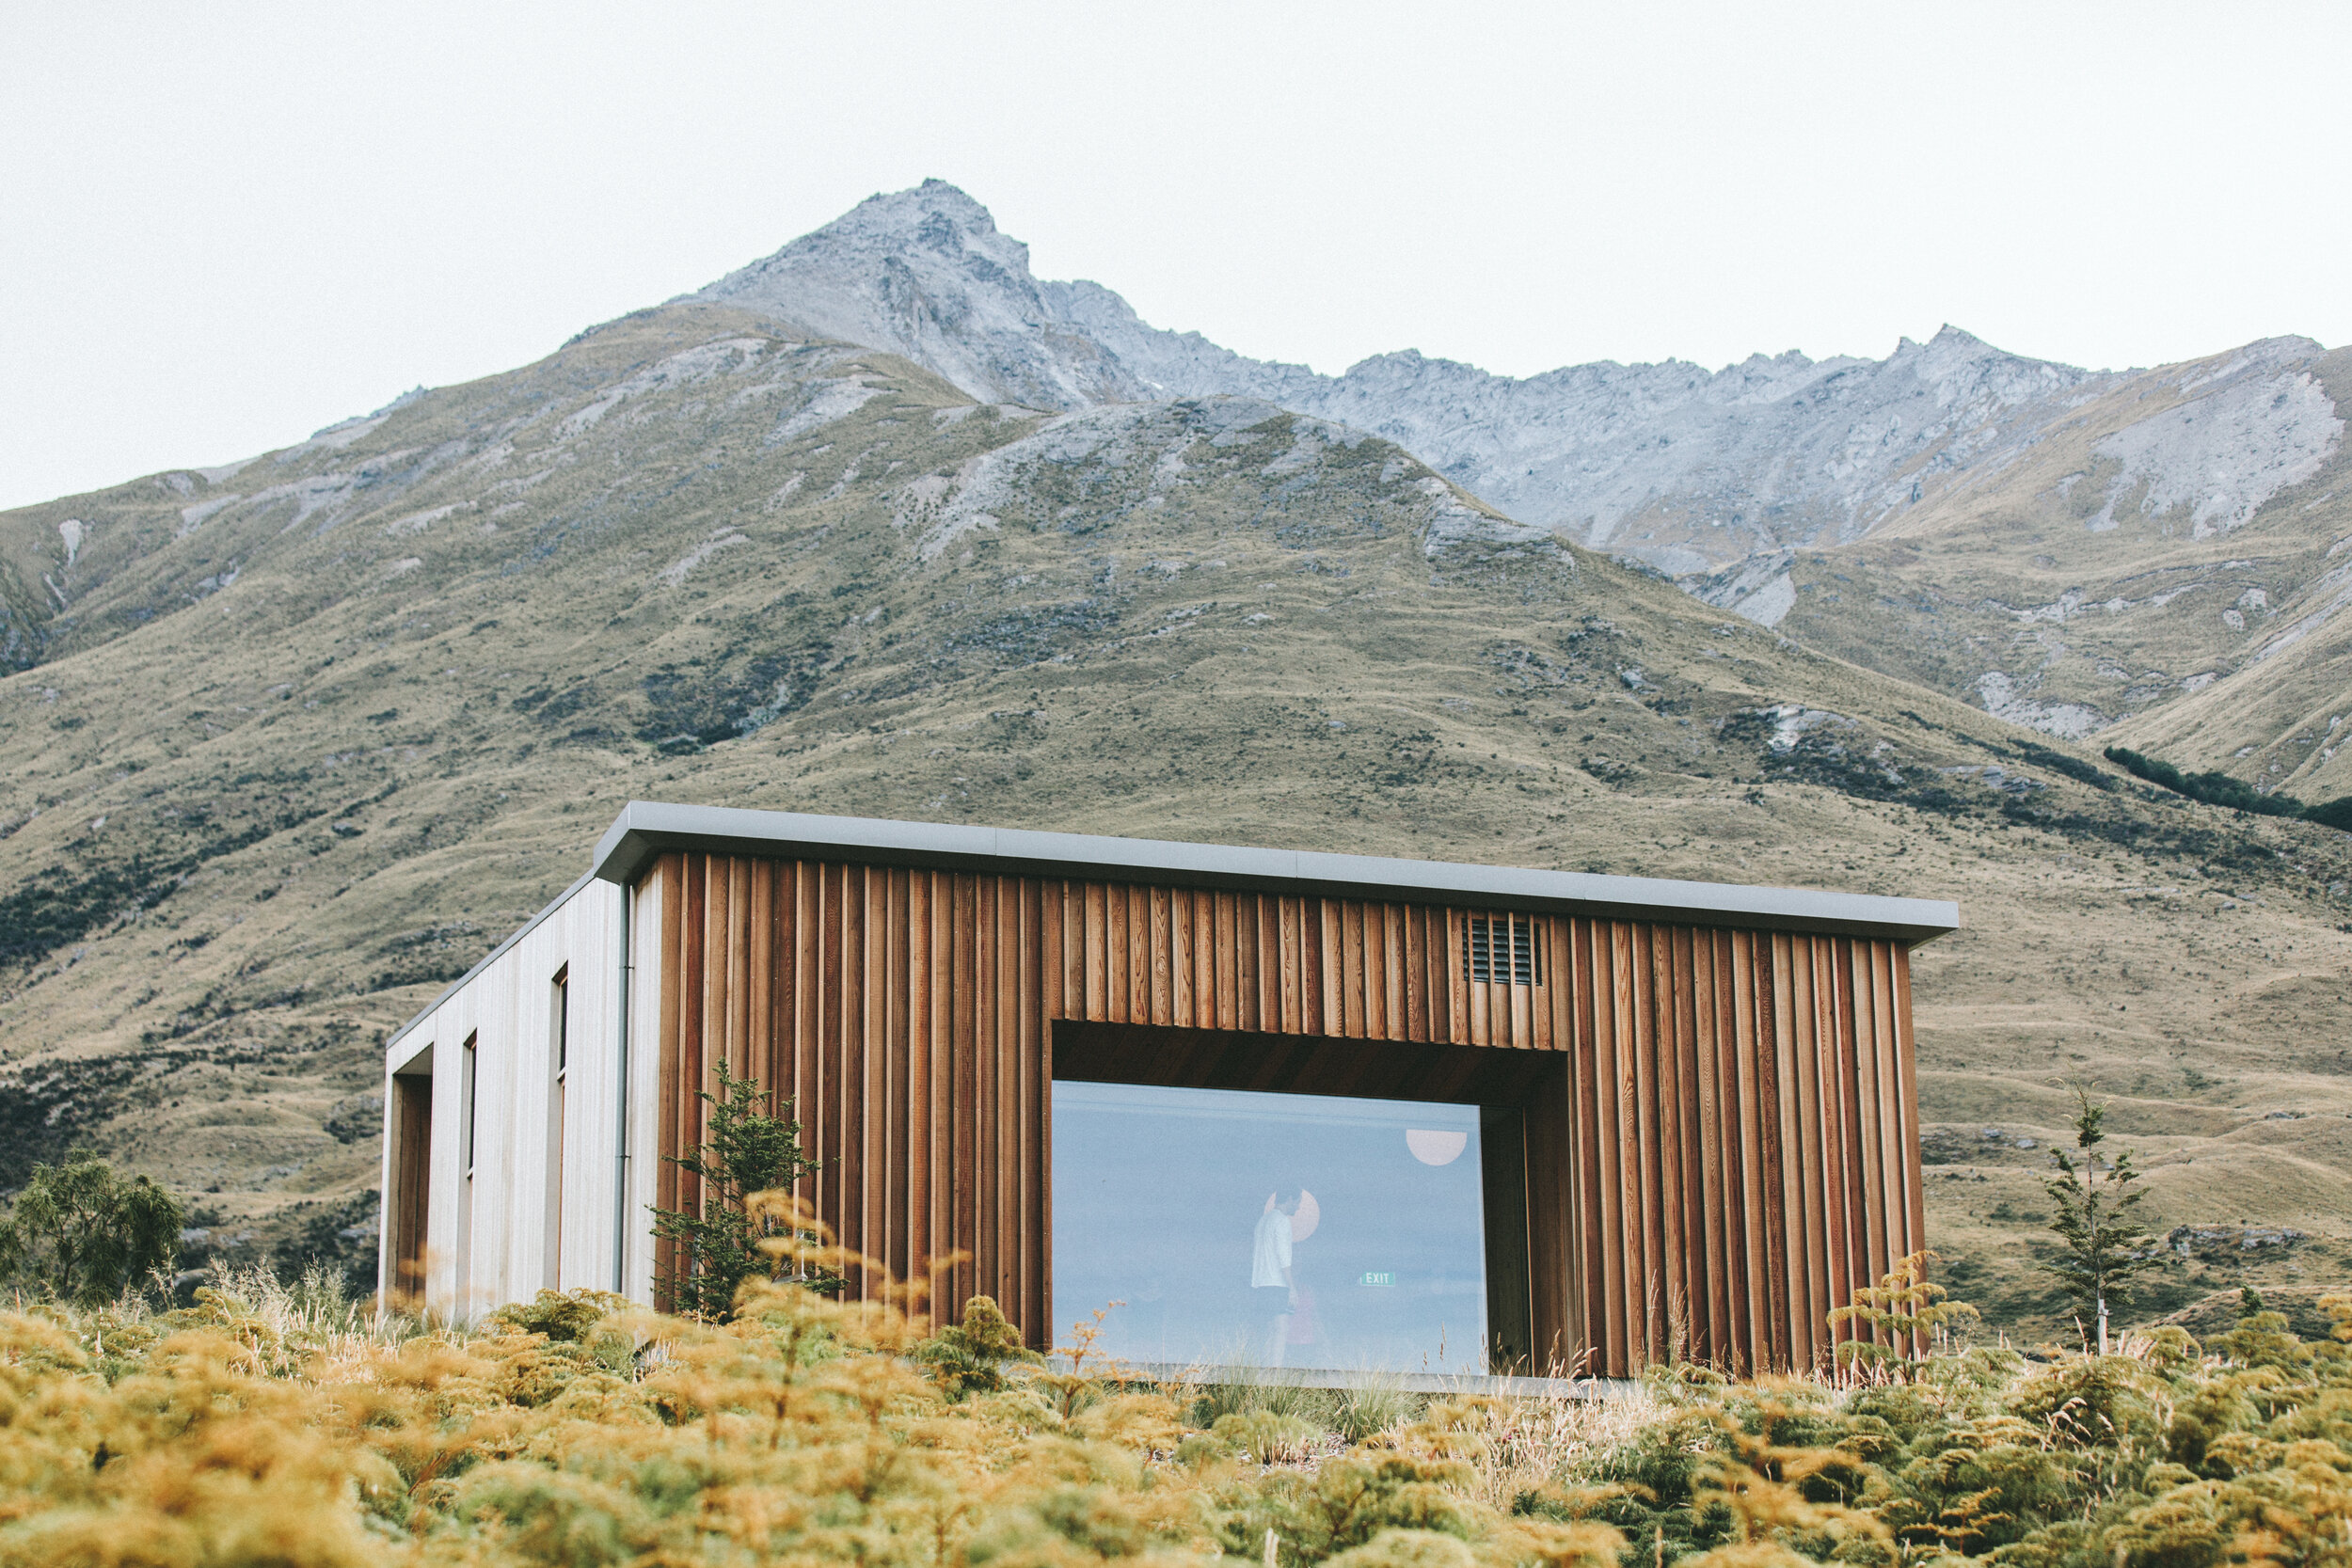
An example of this feature is shown in the next section below because you can’t add extra content to a Squarespace List Section. To add the image outlines and hover animation to a list, follow these instructions:
Add a List section.
Add the text ‘list-circular-stripes’ into the Anchor Link.
Make it stand out.
-

Dream it.
-

Build it.
-
Grow it.
Circle Image
To change your image to look like the one in this section, follow these steps:
Add a Squarespace image component to the page and choose your image.
Add the text ‘circle-image’ to the anchor text of your section.